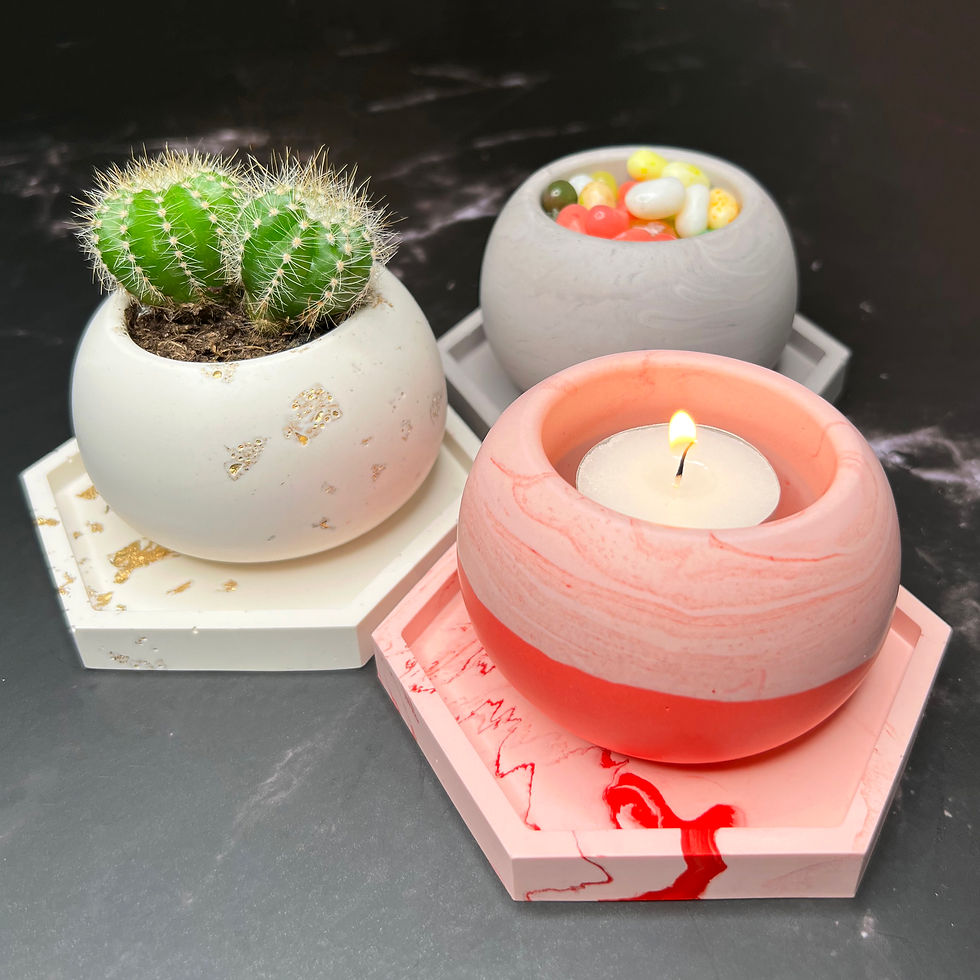
Wood and Tin Candle Trio
- Crafty Kits

- Jul 12, 2022
- 2 min read
Updated: Jul 12, 2022
Instructions to create your candles using our "Wood and Tin Candle Trio" Kit found here.

Preparation
Give the inside of your candle containers and melting jug a clean. Rinse them with hot water and allow them to fully air dry before use (or use a lint-free cloth).
Step #1
Take your wooden wick lengths and insert these into your metal wick holders. You may need to pry open the holders a little bit first to fit them in.

Step #2
Place each wick into one of your candle tins and put them aside for now.

Step #3
Put on your pair of supplied gloves.
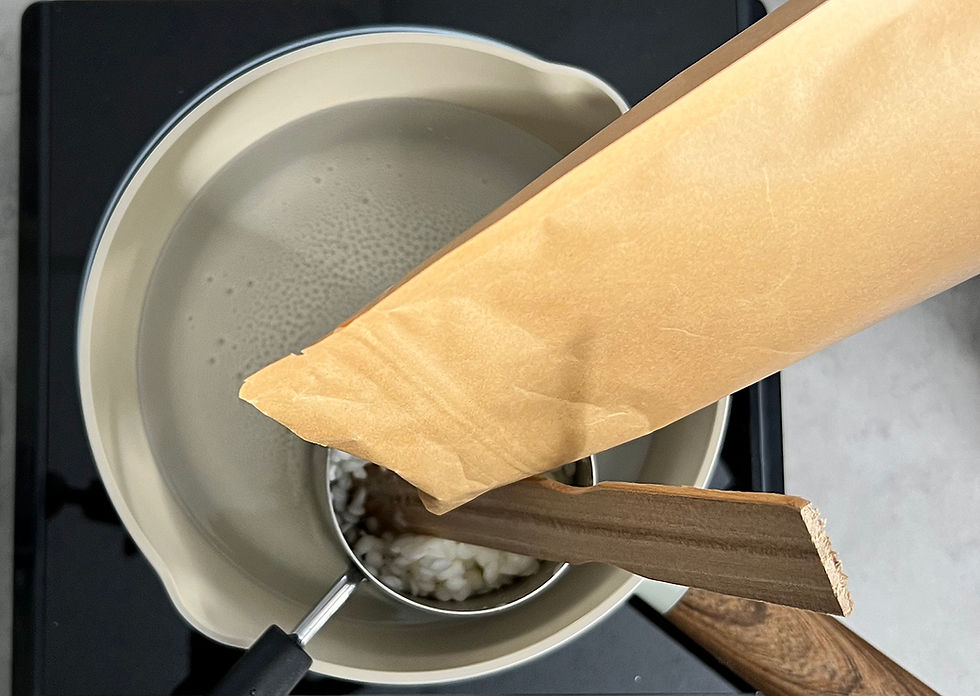
Pour soy wax pellets from your pouch into your stainless steel jug until it is nearly full.

Step #4
Place your jug into a saucepan containing water and place this on the stove. Keeping your stove on low heat, allow your wax to start melting.

Step #5
When your wax has started to melt and the level has gone down, pour in the remainder of your wax pellets.
Step #6
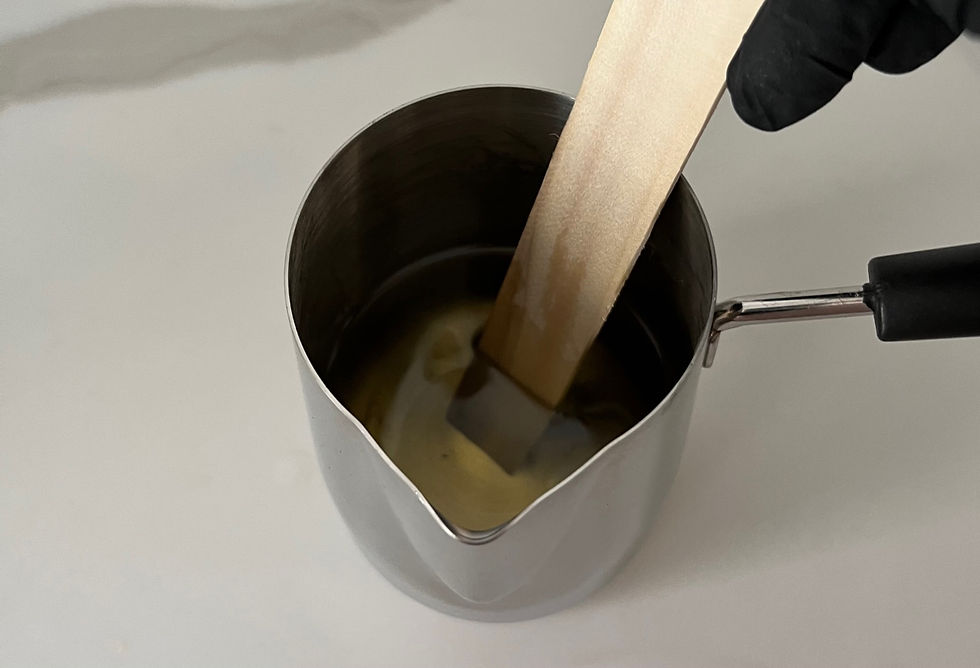
As your wax melts, occasionally give it a very gentle stir with your wooden stirring stick.

Step #7
When your wax is close to or is fully melted, place your thermometer into the jug and continue to monitor the temperature. When you are checking the temperature please make sure the end of your thermometer is in the middle of your molten wax. The metal jug will get hotter than the wax so if the thermometer rests against this it will result in a too high temperature read.
Once your wax reaches 75 degrees Celsius turn off the heat and remove your jug from the saucepan to begin the cooling process.

Step #8
Continue to monitor the wax temperature and allow it to cool down to 65 degrees Celcius.

Step #9
At 65 degrees pour the contents of your fragrance oil bottles into the wax.

Step #10
Immediately begin to slowly stir your wax for 2 minutes. Be gentle and try not to introduce too many air bubbles but stir for the full two minutes to ensure the oil is fully incorporated.
Step #11
Pour the fragranced wax into your candle tins slowly and stop when you reach at least a half centimetre from the top rim.

Step #12
Gently and carefully adjust the position of the wicks to ensure they are central in the tins.

Step #13
Leave the candle to cool and become fully set overnight. Make sure that you do not move or disturb the candles while they are setting. After 24 hours you can place the lids on your candles.
Allow the candle to cure for a week before using.
Congratulations! You have created your beautiful candles - now simply light and enjoy!!


Comments