Strawberries and Champagne Soap
- Crafty Kits

- May 26, 2022
- 3 min read
Updated: May 31, 2022
Instructions to create your soap using our "Strawberries and Champagne" Soap Kit found here.

Preparation
Give your mould and melting jug a good clean. Rinse them with hot water and allow them to fully air dry before use (or use a lint-free cloth).
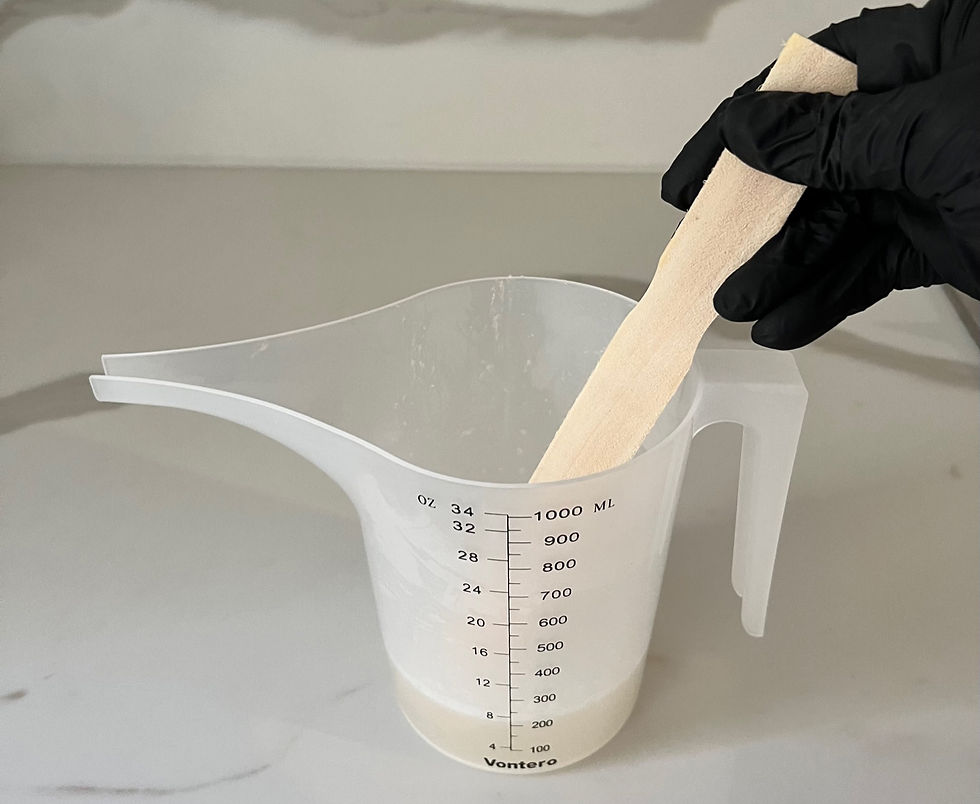
Step #1
Put on your pair of supplied gloves.
Empty your pouch of clear soap base into the plastic pouring jug.

Step #2
Microwave your soap base for 30 seconds maximum.

Step #3
Stir your soap base after 30 seconds in the microwave, using your large wooden stirrer. Continue to microwave in 20-30 second bursts, mixing well after each burst, until all lumps have fully melted. Do not microwave any more than necessary to avoid burning your base.
Step #4
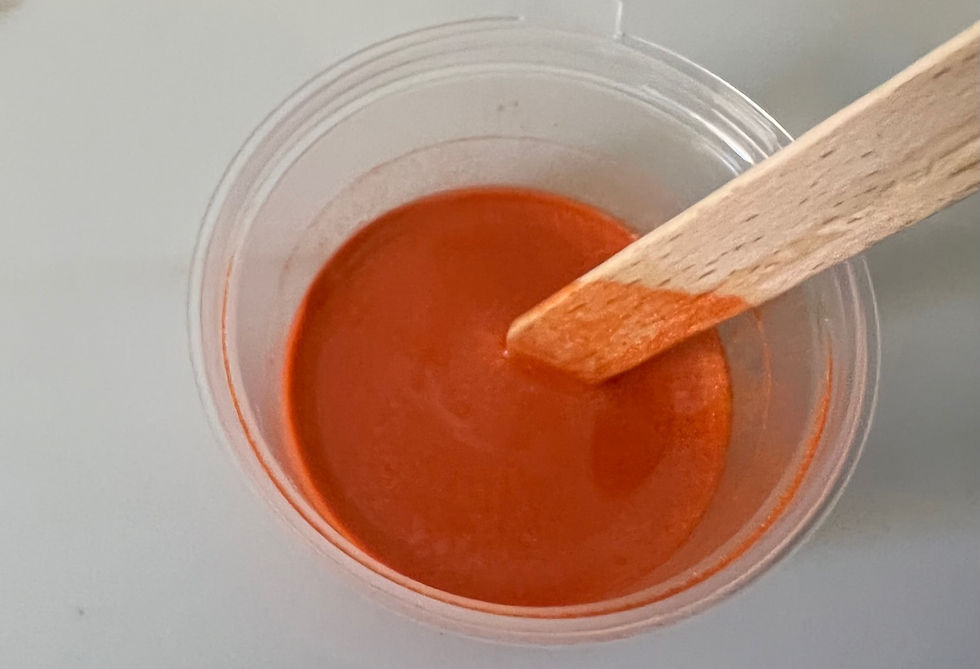
Take your little tub containing the coral red mica powder and pour in a small amount of your rubbing alcohol (approx 1/2 - 1 tbs).

Step #5
Stir your mica and alcohol together well until there are no lumps, using your small stirring stick.

Step #6
Pour your mica mixture into your melted soap base and stir well until the colour is fully incorporated.

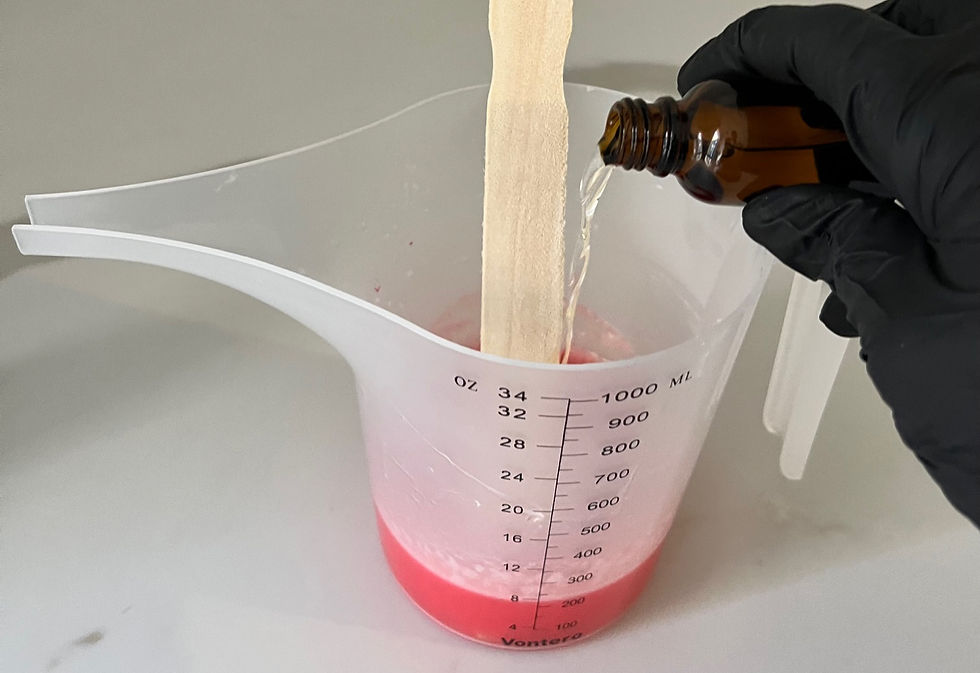
Step #7
Take your fragrance oil and pour approximately a third of this into your coral mix. Stir to combine well for approximately 1-2 minutes. Stir gently to avoid introducing too many bubbles to the mix.
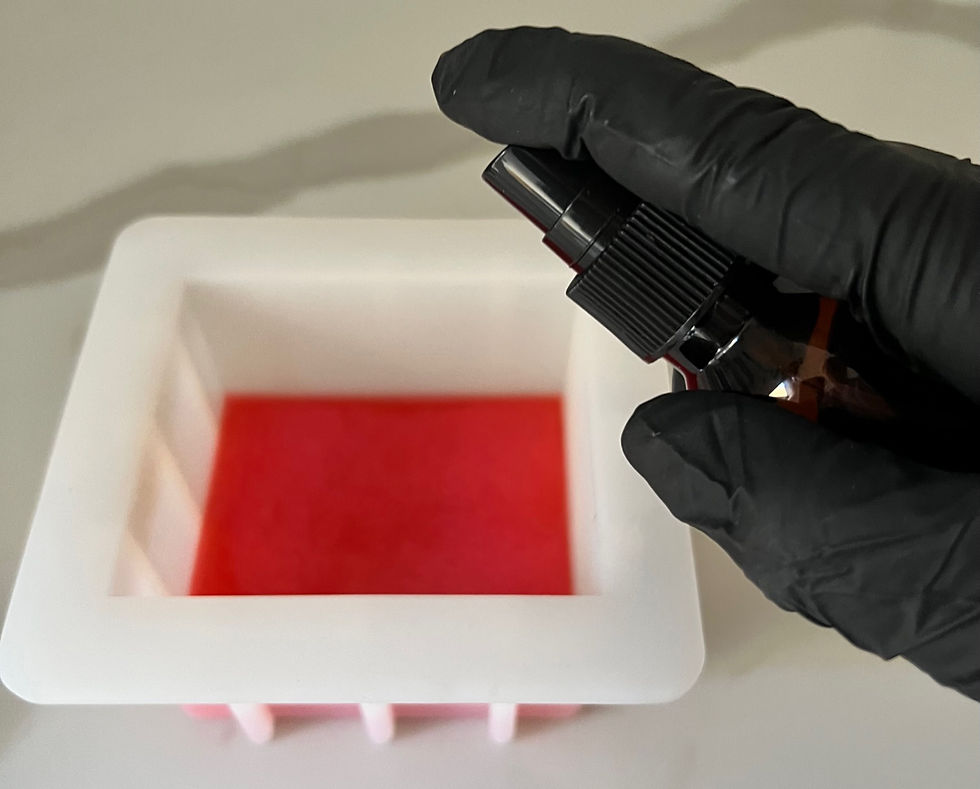
Step #8
Pour your soap mixture into your loaf soap mould.

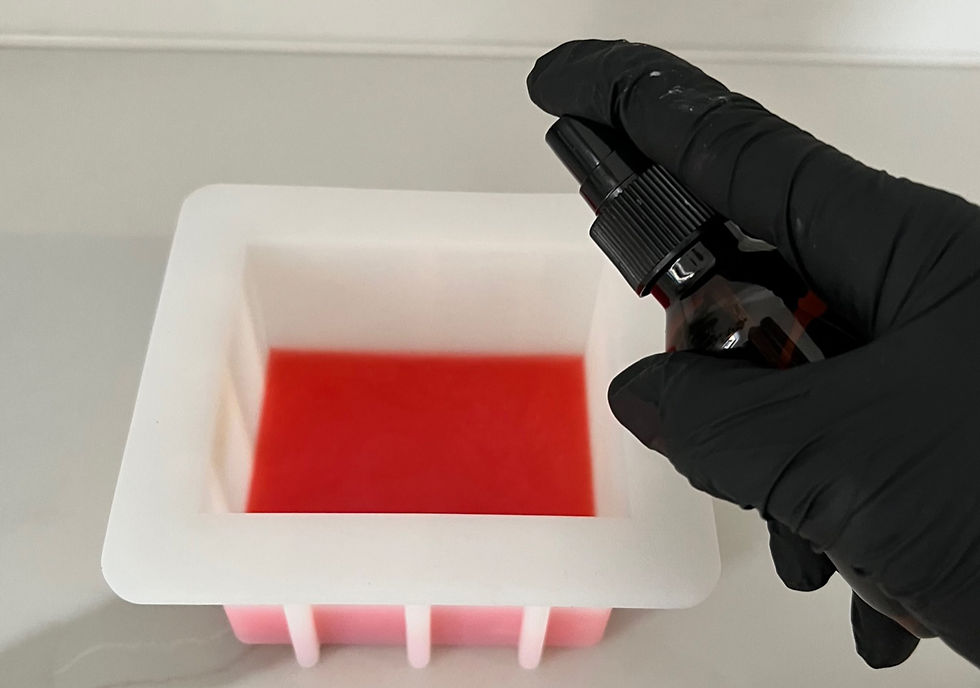
Step #9
As soon as you have poured this soup into the mould, spray the surface with your rubbing alcohol. This is crucial to pop the surface bubbles and ensure that future layers adhere.
Step #10
While your first layer starts to set, clean your pouring jug well and dry it completely. Add the goat's milk soap base into your pouring jug.

Step #11
Microwave the soap base in 20-30 second bursts, mixing well after each burst, until all lumps have fully melted. Do not microwave any more than necessary to avoid burning your base.

Step #12
Once the soap base is fully melted, add the remaining fragrance oil and mix in gently for 1-2 minutes.

Step #13
Check the surface of your first soap layer to be sure it has started setting well. Spray again with rubbing alcohol just before pouring your second layer.
Step #14
Immediately after spraying, pour a very thin layer of your white soap.

Step #15
Spray the white layer immediately with rubbing alcohol to pop bubbles and ensure the third layer will adhere.

Step #16
Take your small tub of orange mica and dissolve this with some rubbing alcohol. Stir using the other end of your small stirring stick.
Step #17
Pour your mica mixture into the soap base. Stir well to incorporate.

Step #18
Check your white soap layer to ensure it has started setting well. Spray again with rubbing alcohol just before pouring your third layer.
Step #19
Immediately after spraying, pour all of your remaining orange soap mix.

Step #20
Spray the top surface well to remove all of the bubbles. Leave the soap to set overnight.

Step #21
Gently remove the soap from your mould. Firstly loosen the side edges and then the base.

Step #22
Place your set soap, pink side up, onto a chopping board and ideally leave for another few hours to overnight. (Please note, do not use a porous wooden chopping board like the one shown if it is also used for food. I use this one only for soap. You might like to line the chopping board with baking paper or foil to ensure no oils leech into the board)


Step #23
I chose to cut 4 bars, however, you could get 5 depending on your preferred bar thickness. You can measure it or just eyeball it and then slice your loaf using a big sharp non-serrated knife.
I find it is easiest to get precise cuts by holding the knife handle in one hand and pressing on the top spine of the knife with the other hand (from the other side of your soap). You can then press the knife down equally from both sides and have more control.

Step #24
Leave your soap bars for a few days to a week to cure and then lather and enjoy!


Comments