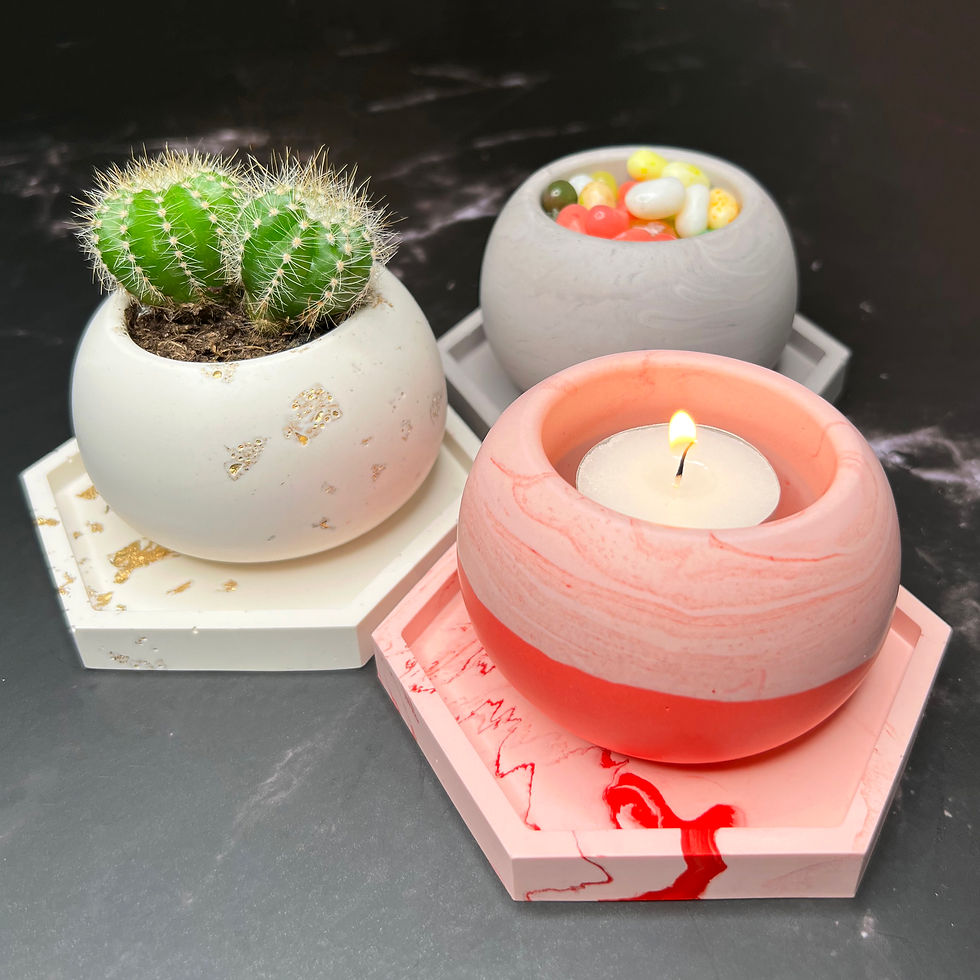
Pretty Peony Candles
- Crafty Kits

- Aug 31, 2022
- 3 min read
Instructions to create your candles using our "Pretty Peony Candles" Kit found here.

Preparation
Give your mould and melting jug a good clean with dish detergent if required. Rinse thoroughly with hot water, and allow them to fully air dry before use (or use a lint-free cloth).
Step #1
Take your mould, your needle, and one length of your wick.

Step #2
Thread one end of the wick length through the eye of the needle.

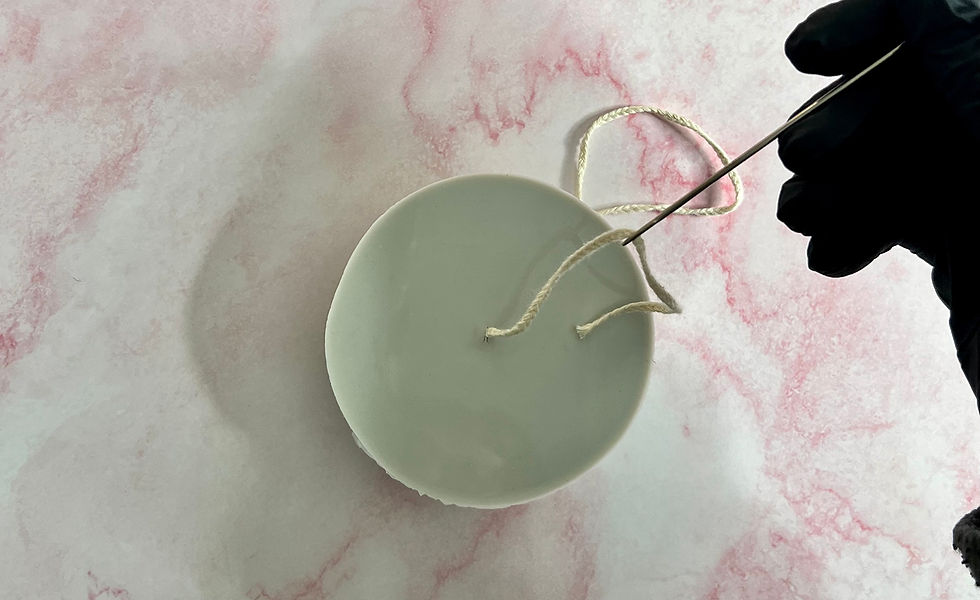
Step #3
locate the centre of your mould, or the position that you prefer, and insert the needle through the silicone at this point. Pull the needle through to the other side and remove the needle, keeping the wick threaded in the mould.

Step #4
Take your piece of white tack and shape this into a sausage.

Step #5
Place the tack around the wick at the point it exits from the mould. Once you pour your wax this will prevent any leakage.

Step #6
Position your mould on top of something with a round top like an old mug or glass. This way the tack and wick can sit inside the cup/object rather than making the mould sit unevenly on a flat surface.

Step #7
Place your mould (securely sitting on the prop) in the location you will be pouring the wax and allowing it to set. I recommend a nice flat surface that will not be disturbed or knocked for a few hours. Now place your wick holding/centring tab on top of your mould. Thread the wick through the middle hole and then move it into the slit to secure it, as per the following diagram. Position this so that the wick sits taught and centred. Leave your mould for now.

Step #8
Pour one of your pouches of beeswax/soy blend wax into your stainless steel melting jug.

Step #9
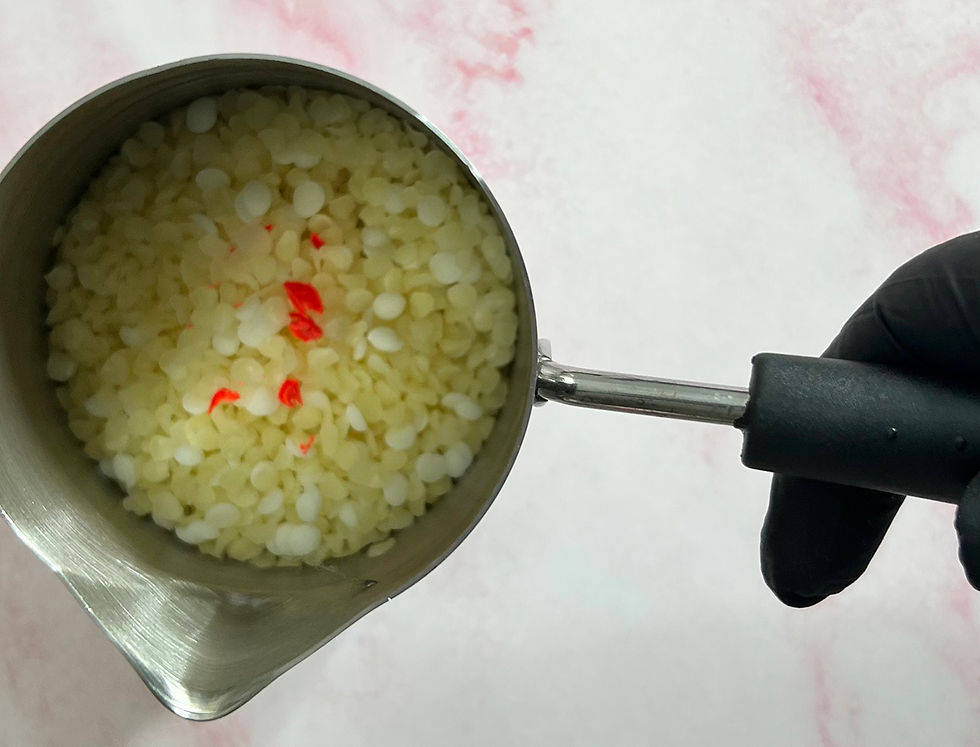
Use a knife or veggie peeler to shave a small amount off your colour block. I used 3 different amounts to create the 3 shades of my candles. You can use more or less than I did. I suggest you start very slow as these colours create more punch than you imagine. For my 3 candles combined, I used much less than half a colour chip in total. Please see the second and third images below to see how much I used for my lightest and middle shade candles. If you have chosen the pink kit you need even less as this colour chip is very potent. Place your colour shavings in with your wax.

Lightest shade as photographed (just a hit of peach)

Middle shade of peach.
Step #10
Place your melting jug into a saucepan filled with a little water (a double boiler effect). Place the heat on low and allow the wax to start melting. Use the provided stirring stick to gently stir your wax as it melts.

Step #11
Monitor your wax and once it is mostly melted, much like the image below, place your thermometer into the wax.

Step #12
Continue to melt your wax fully and wait until the temperature reaches 75 degrees. To check the temperature please ensure the thermometer end sits in the middle of the melted wax and not against the steel. The pot will be hotter than the wax so this may give you an inaccurate reading.

Step #13
Remove your melting jug from the saucepan.

Step #14
Pour the fragrance oil into your melted wax and stir this gently and slowly for 1-2 minutes. Please try not to stir too vigorously and avoid introducing air bubbles.

Step #15
Use the thermometer to monitor the temperature again. Once it reaches 65 - 70 degrees it is ready to pour into your mould. Remove the thermometer and stirring stick.

Step #16
Carefully and slowly pour the wax into your mould. Make sure you stop pouring as soon as you reach the top surface. Allow your candle to cool and harden uninterrupted for a number of hours or overnight.


Step #17
Once your candle is ready for de-moulding the next day you can watch this tutorial for tips on this process.
Step #18
Repeat these steps to create two more pretty peony candles. Allow your candles to cure for a minimum of 7 days before use. Then light and enjoy!!


Comments