Pink Clay and Shea (with essential oils) Soap
- Crafty Kits

- May 26, 2022
- 2 min read
Updated: May 31, 2022
Instructions to create your soap using our "Pink Clay and Shea" Soap Kit found here.

Preparation
Give your mould and melting jug a good clean. Rinse them with hot water and allow them to fully air dry before use (or use a lint-free cloth).
Step #1
Put on your supplied pair of gloves.
Empty your pouch of shea soap base into the plastic pouring jug.

Step #2
Microwave your soap base for 30 seconds maximum.

Step #3
Stir your soap base after 30 seconds in the microwave, using your large wooden stirrer. Continue to microwave in 20-30 second bursts, mixing well after each burst, until all lumps have fully melted. Do not microwave any more than necessary to avoid burning your base.

Step #4
Take your little tub containing the Australian pink clay powder and pour in a small amount of your rubbing alcohol (approx. 1-2 tbs).

Step #5
Stir your clay and alcohol together well until there are no lumps, using your small stirring stick.

Step #6
Pour your pink clay mixture into your melted soap base.

Step #7
Stir thoroughly but gently using your large stirring stick.

Step #8
Pour your essential oils into your clay soap mixture.

Step #9
Stir gently for 2 minutes or until the oil is fully incorporated into the soap mixture and you can no longer see separated oil on the surface.
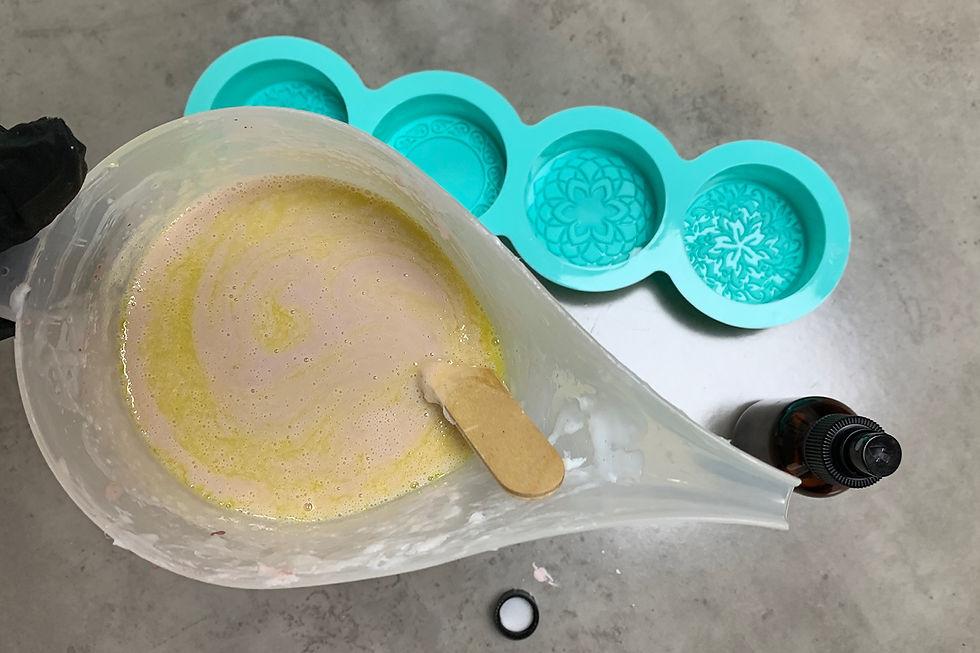
Step #10
Pour your soap mixture into your soap moulds right to the top. Work quickly to avoid a skin forming before the next step.

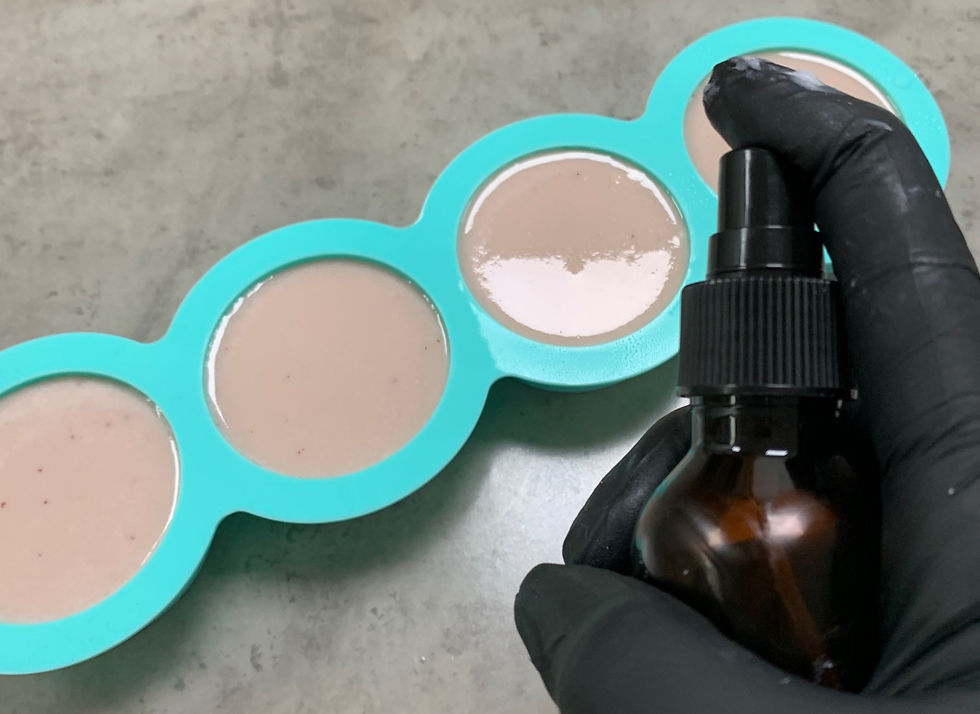
Step #11
Spray the surface of your soaps with the rubbing alcohol to dissolve all of the bubbles and create a smooth soap base. Leave the soap in the mould overnight without disturbing or moving it.
Step #12
Gently remove the bars of soap from your mould. First, loosen the side edges and then press from the base.
Step #13
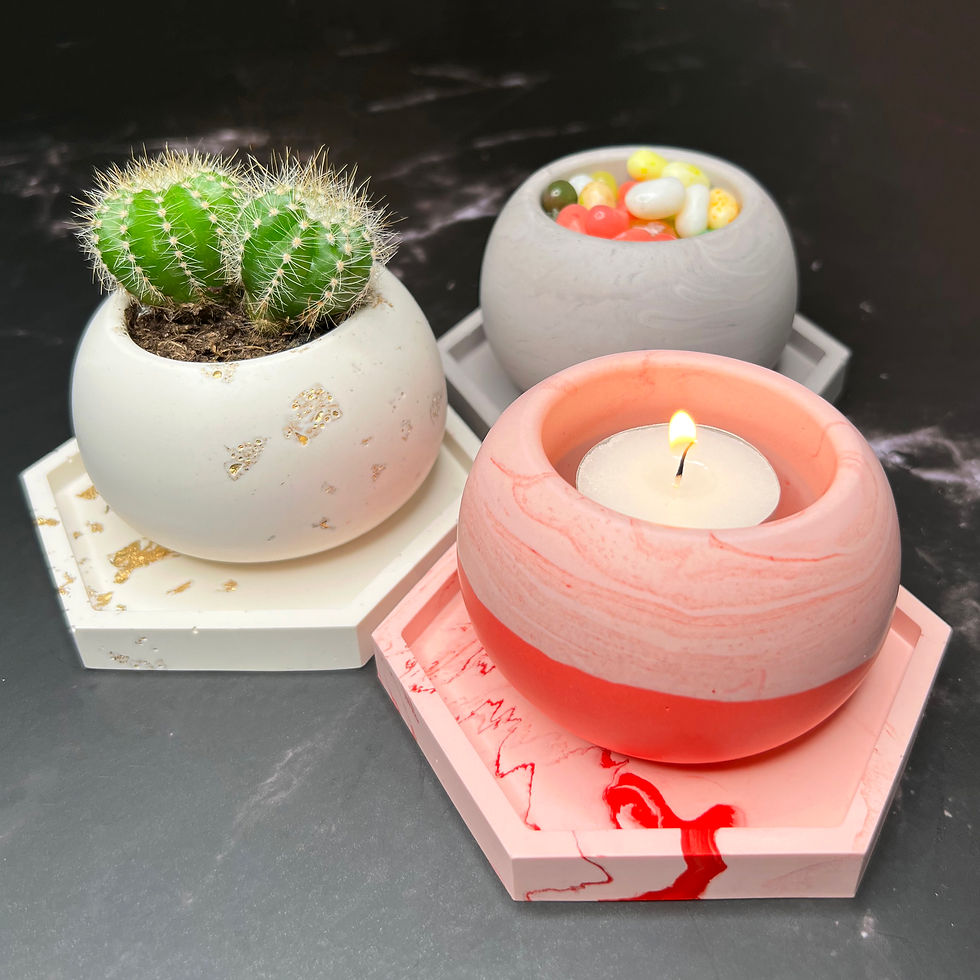
Leave your soap bars for a few days to a week to cure and then lather and enjoy!


Comments