Floral Edge Soy Container Candle
- Crafty Kits

- May 26, 2022
- 3 min read
Updated: Jul 12, 2022
Instructions to create your candle using our "Floral edge Soy Container Candle" Kit found here.

Preparation
Give your candle containers and melting jug a good clean. Rinse them with hot water and allow them to fully air dry before use (or use a lint-free cloth).
Step #1
Put on your pair of supplied gloves.
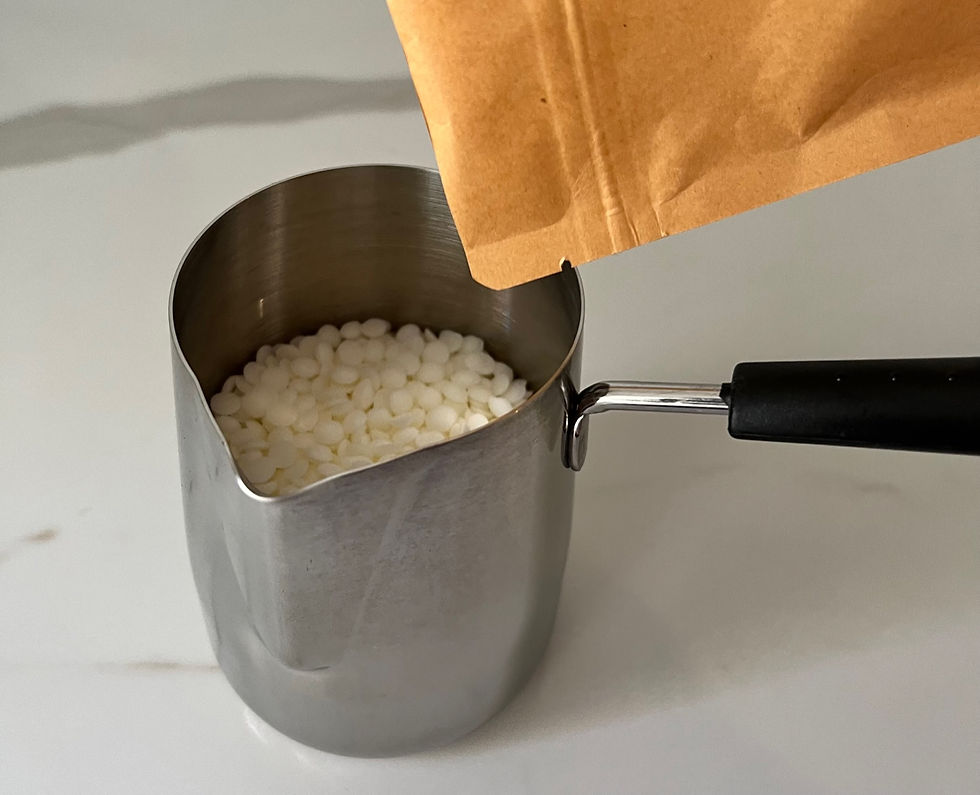
Empty one of your pouches of soy wax pellets into your stainless steel jug.
Step #2
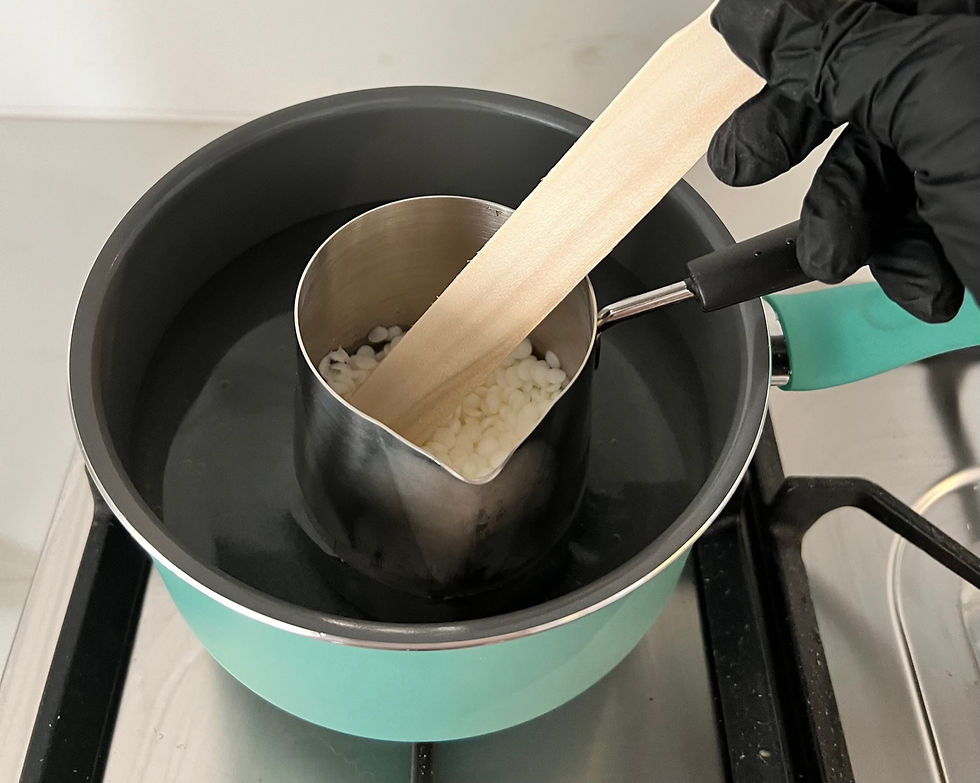
Place your jug into a saucepan containing water and place this on the stove. Keep your stove on low as your wax begins to melt.

Step #3
When your wax is close to fully melted, place your thermometer into to jug. Gently stir and monitor. When you are checking the temperature please make sure the end of your thermometer is in the middle of your molten wax. The metal jug will get hotter than the wax so if the thermometer rests against this it will result in a too high temperature read.

Step #4
Once your wax reaches 75 degrees Celsius turn off the heat and remove your jug from the saucepan to begin the cooling process.

Step #5
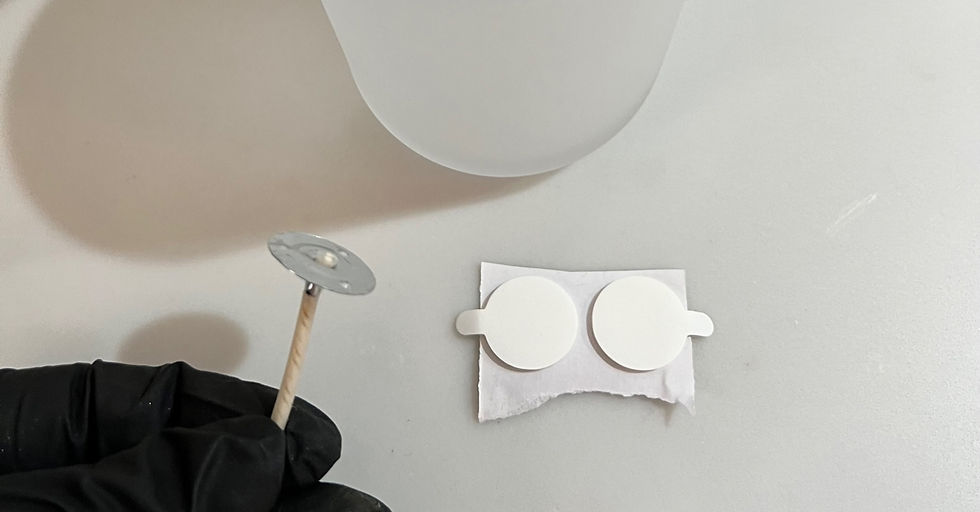
While the wax begins to cool we will prepare our candle container. Take one of your containers, one wick, and your wick stickers.
Step #6
Peel one of your wick stickers from the backing paper and stick this onto your metal wick tab.

Step #7
Peel the remaining sticker side and then affix the wick tab to the center bottom of your candle container. Push the tab down securely with your fingertips.

Step #8
Monitor your wax until the temperature reaches 65 degrees celsius.

Step #9
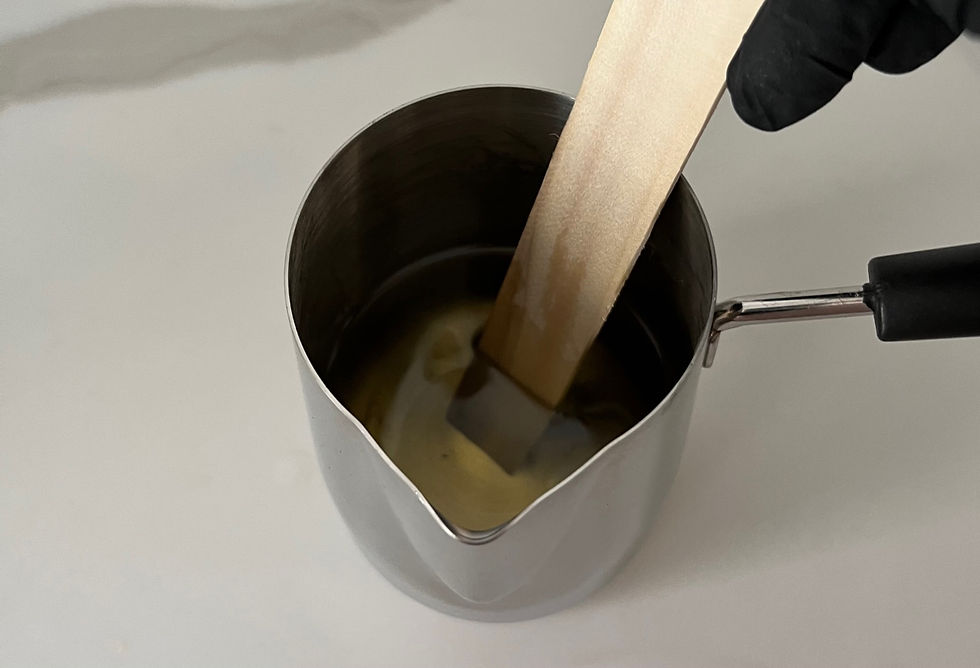
At 65 degrees pour one of your fragrance oil bottles into the wax.

Step #10
Immediately begin to slowly stir your wax for 2 minutes. Be gentle and try not to introduce too many air bubbles, but stir for the full two minutes to ensure the oil is fully incorporated.
Step #11
Pour the fragranced wax into your container slowly and stop when you reach at least a half centimetre from the top rim.


Step #12
Gently pull the wick taught and then hold it in place with the supplied clip.
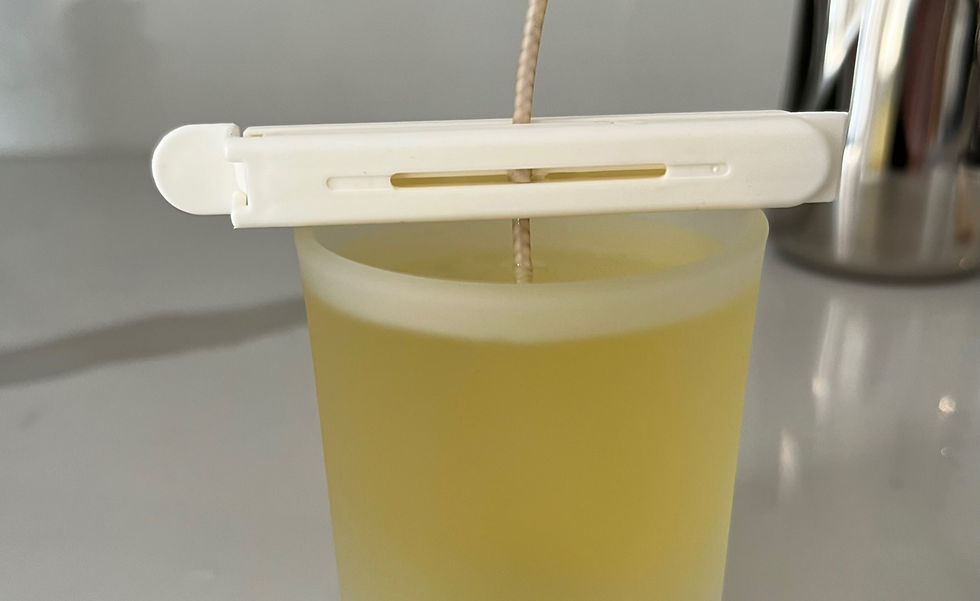
Step #13
Position the clip so that the wick is as central as possible.

Step #14
Monitor your candle closely as it starts to cool. You want to notice when the candle starts to set/whiten on the top surface around the very edges.
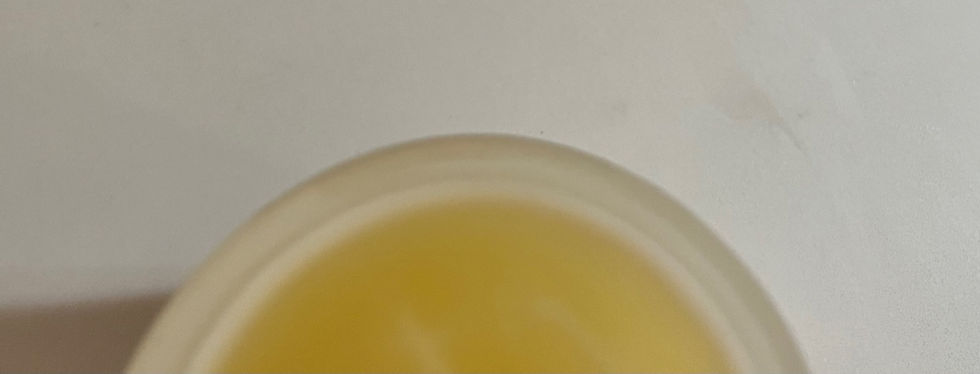
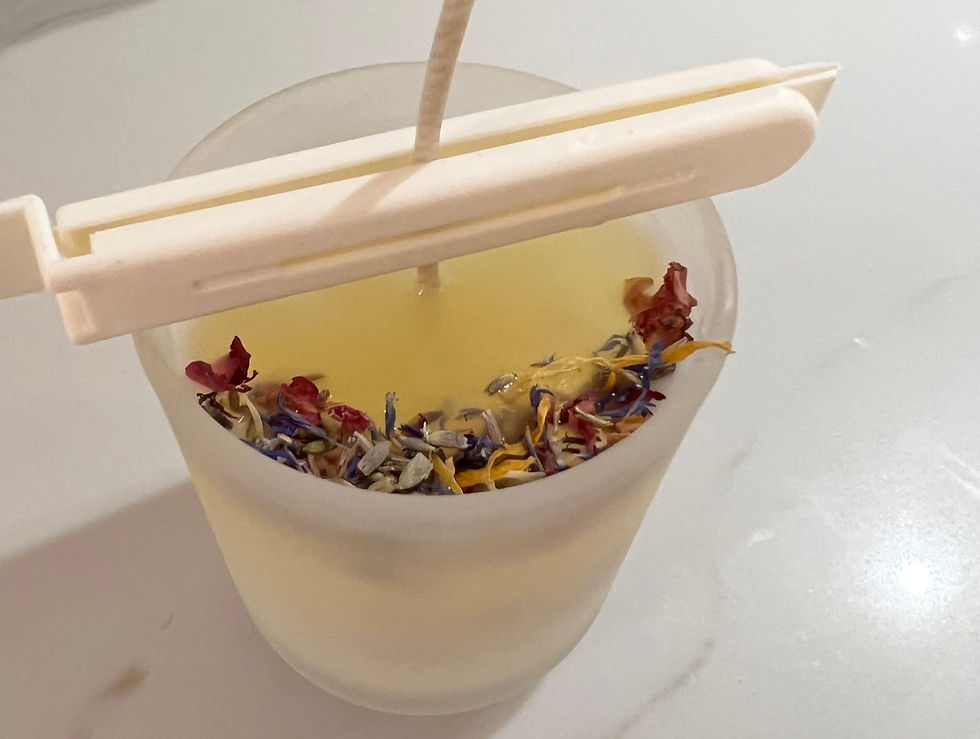
Step #15
At this exact stage, we want to start decorating with the petal mix. Firstly test a light coloured petal by placing it on the surface and ensuring it remains on the surface. If it starts to gradually sink, wait another minute or two. Be careful to not move or knock the container. Once you are confident the candle is wet enough for the petals to adhere but cooled enough to keep them on the surface, you can start arranging your petals as desired. Make sure you retain some for your second candle if desired.

Step #16
Once fully decorated, leave the candle to be fully set overnight.
Step #17
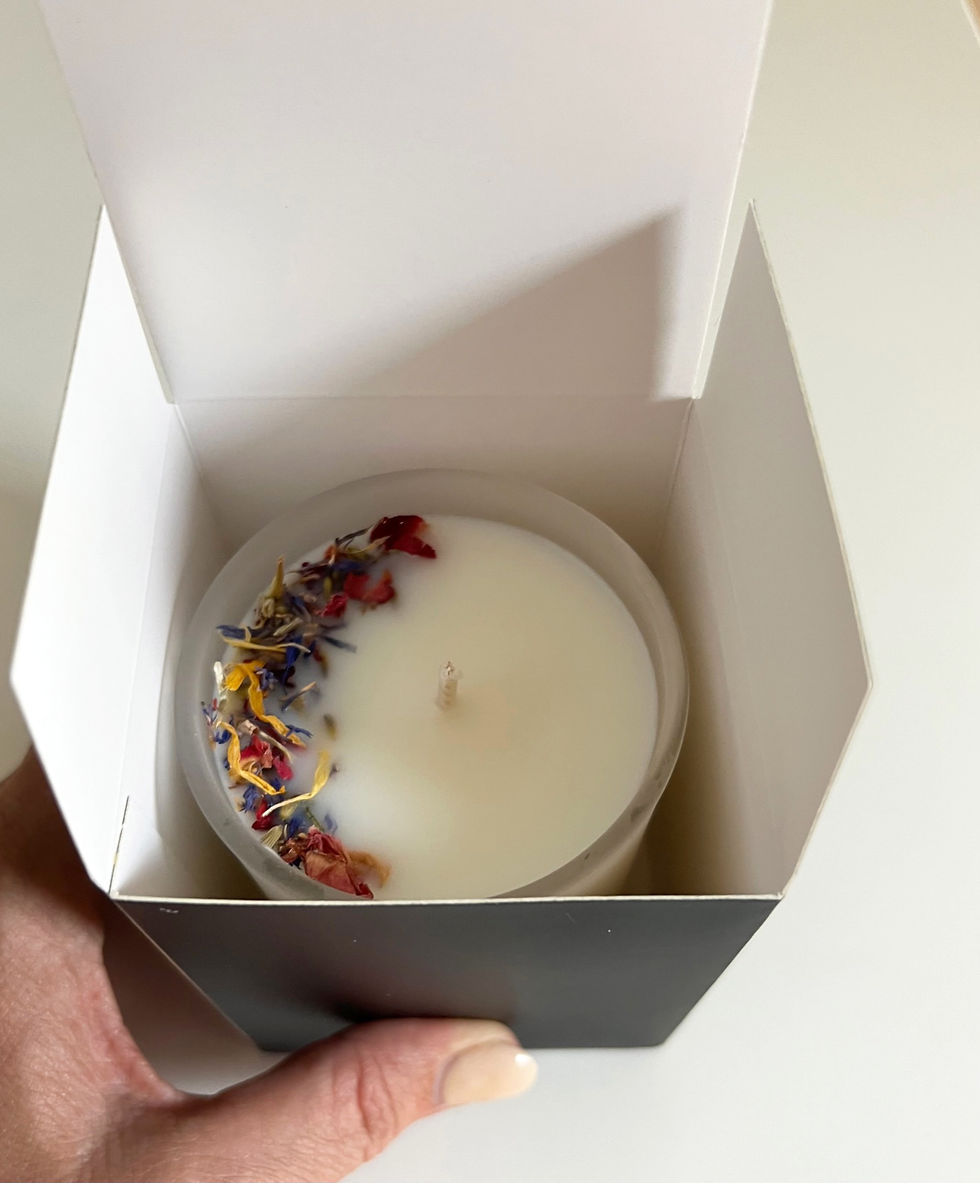
The next day it is time to remove the clip and you can then trim your wick to 1/4" or slightly longer.

Step #18
Open out the supplied candle box and place your completed candle inside. Allow the candle to cure for at least 1 week before using. Then light and enjoy!!
(If you are giving the candle as a gift or selling it, please attach a safety sticker to the bottom of the box).


Comments