Butterfly on Sassafras
- Crafty Kits

- May 26, 2022
- 1 min read
Updated: May 29, 2022
Instructions to create your butterfly cross stitch using our "Butterfly on Sassafras" Kit found

Step #1
Choose the colour you wish to start with (I chose to start with the grey) and thread a full 6 strands of your embroidery floss into your cross stitch needle. Tie a double knot in the end.

Step #2
Referring to your colour stitching guide, begin your cross stitch. I find it easiest to work on one row at a time. I work across doing the first half of the crosses in the same direction.

Step #3
I then go back in the opposite direction completing the crosses. If you continue to work this way all of your crosses will be uniform and your work will be lovely and neat.

Step #4
Around the edges of your wood the holes allow for a simple running stitch. The butterflies antennae use backstitch.

Step #5
Continue to work your cross-stitch stitch until it is complete. When you finish a section of thread, simply tie a single to double knot at the end before starting with your nest strand.
Step #6
Take your completed cross stitch with the wrong side up, your wool felt backing piece, and your glue.
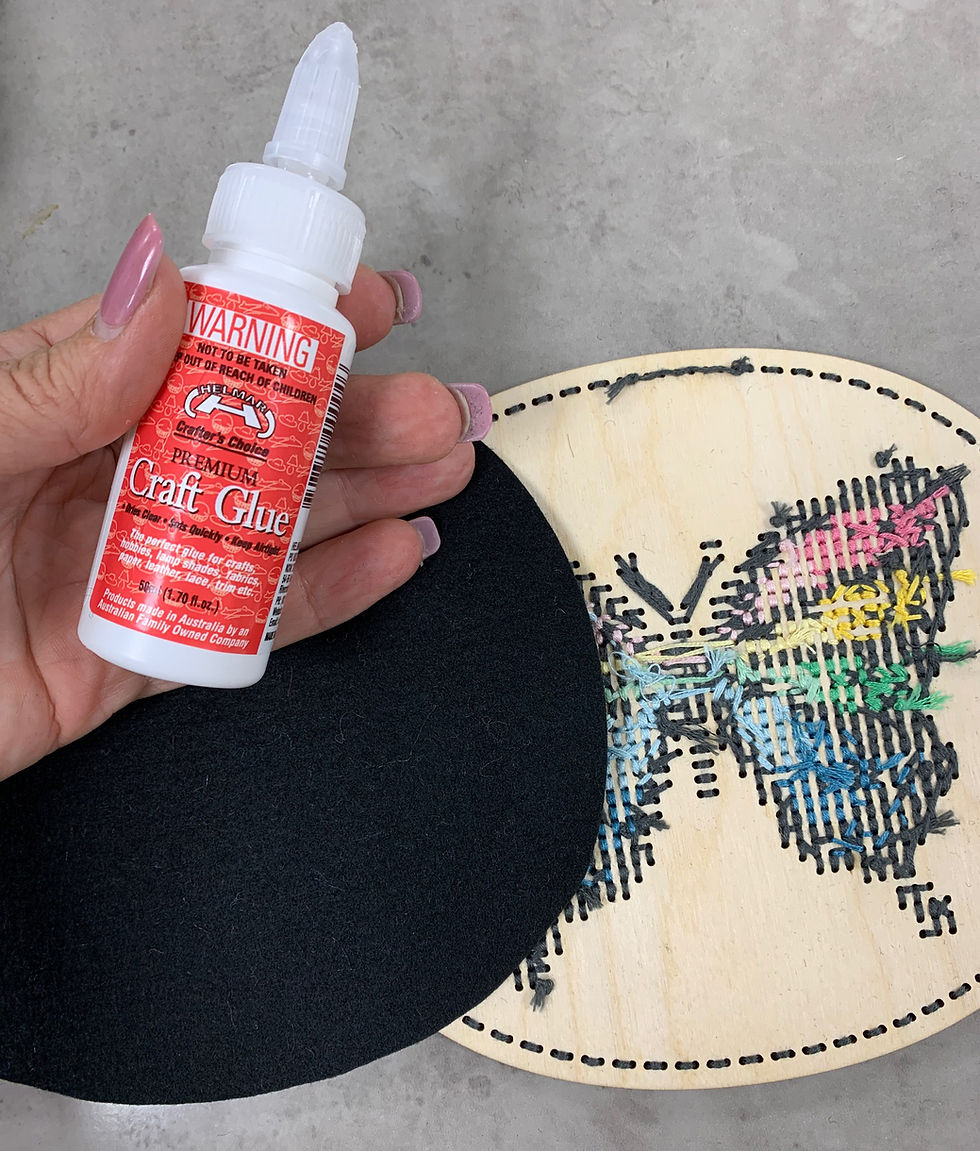
Step #7
Squeeze some glue just inside/on the running stitch border and through the middle of your wooden disc.

Step #8
Centre the wool felt backing onto the back of your cross stitch and smooth down. Allow to dry fully and then you can present your cross stitch as you choose.

ENJOY!!


Comments