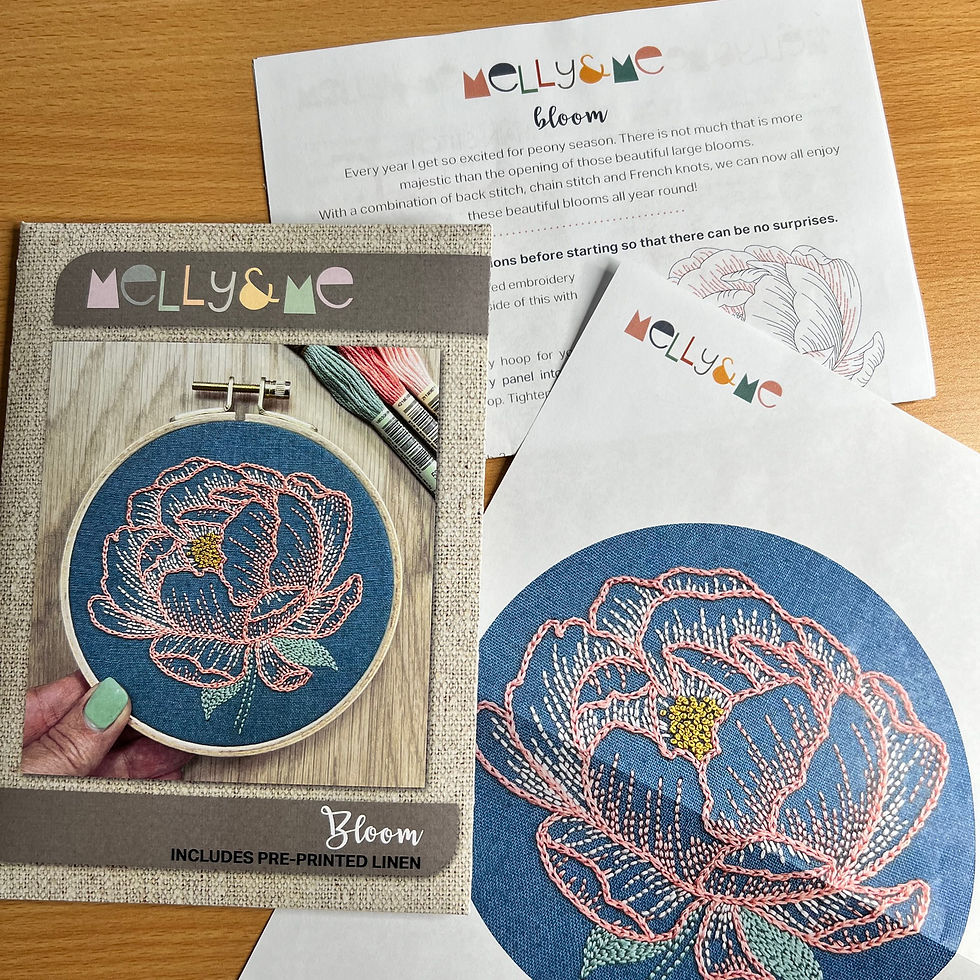
Bloom Embroidery
- Crafty Kits

- Jul 11, 2022
- 1 min read
Instructions to create your beautiful embroidery using our "Bloom" embroidery Kit found here.
Step #1
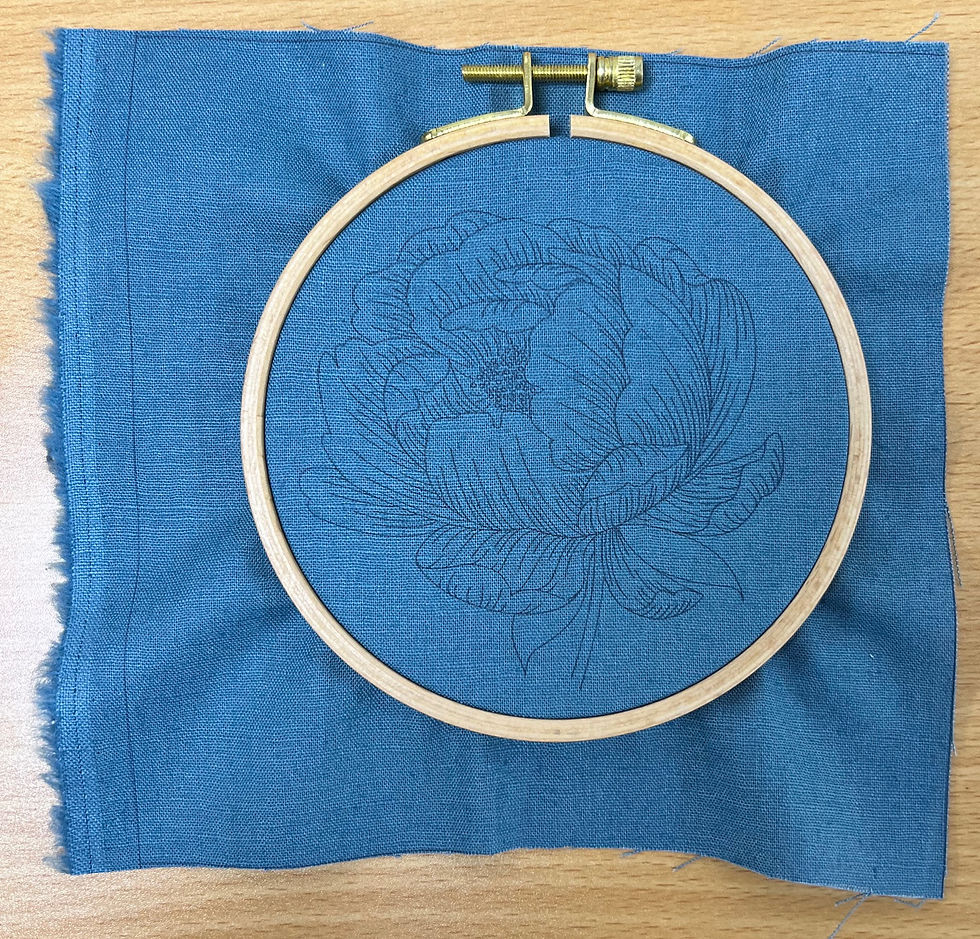
Fuse your stabiliser to the wrong side of your embroidery linen panel. Next place the linen into your embroidery hoop and tighten to secure (if you need to, use a screwdriver to help you get it nice and taught - but do not tighten too much as to warp your hoop).
Step #2
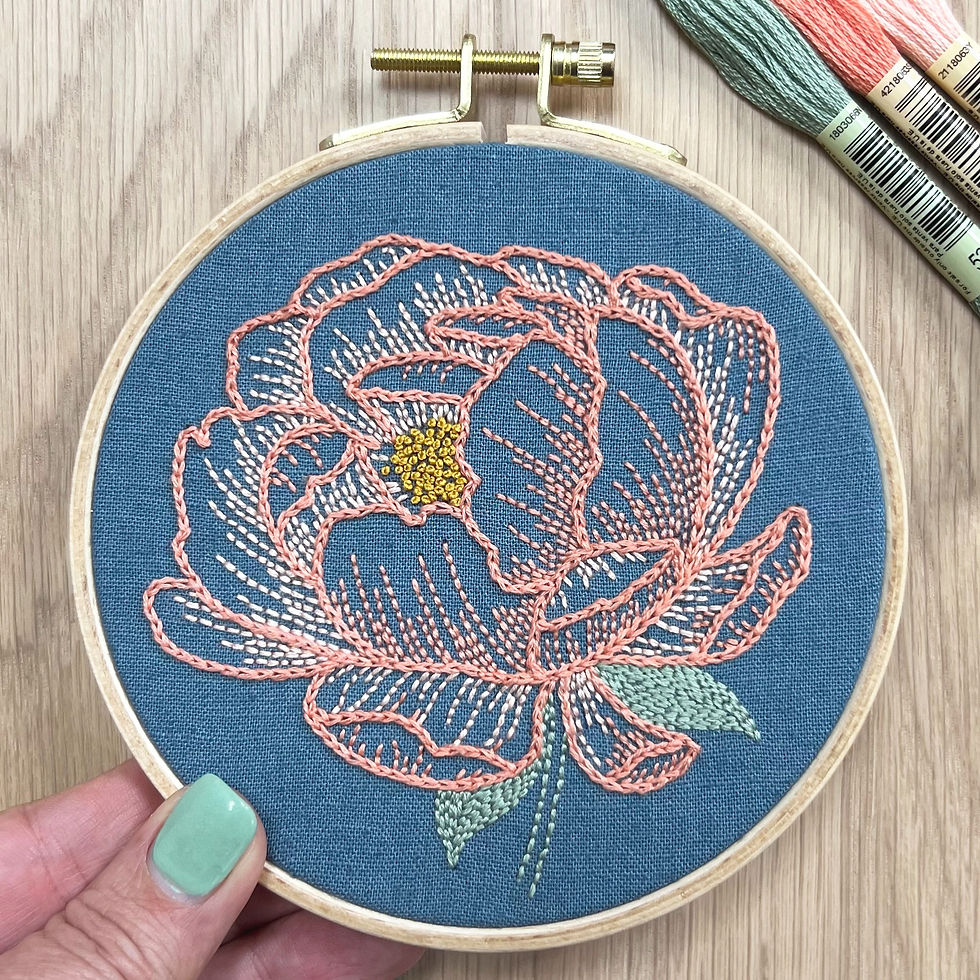
Work your stitchery as instructed in the enclosed pattern referring to the printed stitching guide for stitch and colour placement. Below you will find some tutorials for the stitches used.
Step #3
Back Stitch tutorial.
Step #4
Chain Stitch tutorial.
Step #5
Single wrap French Knot tutorial.
Step #7
Once you have completed your stitchery there is no need to remove it from the hoop as you will be using this for the presentation also. You may simply want to re-tighten and centre it as needed and ensure the screw opener is centered at the top of your embroidery. Refer to the enclosed pattern to finish the back of your stitchery with the supplied wool felt backing circle.


Comments